StreamElements Integration
StreamElements Integration
StreamElements offers an API interface for incoming donations from third-party providers - for example from ImproFans. This means donations made through ImproFans can also be displayed live via StreamElements.
The following shows how to set up our webhook across different platforms.
Via Pipedream
Pipedream is a (free) web event automation platform that allows you to easily receive our webhooks for donation notifications and forward them to StreamElements.
Obtaining StreamElements Credentials
⚠️
Important: The token that you copy from StreamElements is valid for approx. 180 days. After this has expired, you must update it again manually.
To use the StreamElements API, you need your StreamElements “Account ID” and “JWT Token” (hereafter just “Token”). Here’s how to get them:
- Log in to StreamElements dashboard.
- Open the channel overview.
- Here you can see your Account ID and Token:
 Both will be needed in the following steps.
Configuring Pipedream
- Log in to Pipedream and open the project overview.
- Create a new workflow by clicking New Workflow in the top right:

- Enter a name for the workflow project (e.g.
ImproFans Webhook) and click Create project and continue: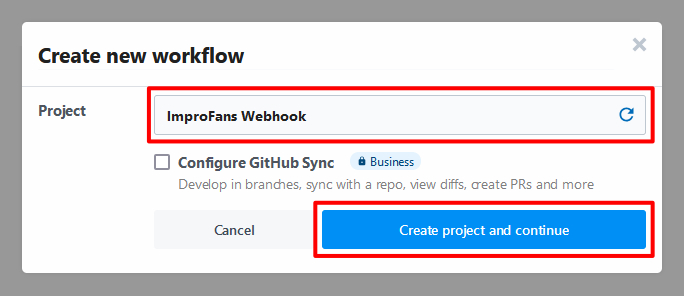 ℹ️A Pipedream project can contain multiple workflows.
 - Now enter a name for the actual workflow (e.g.
StreamElements) and click Create Workflow: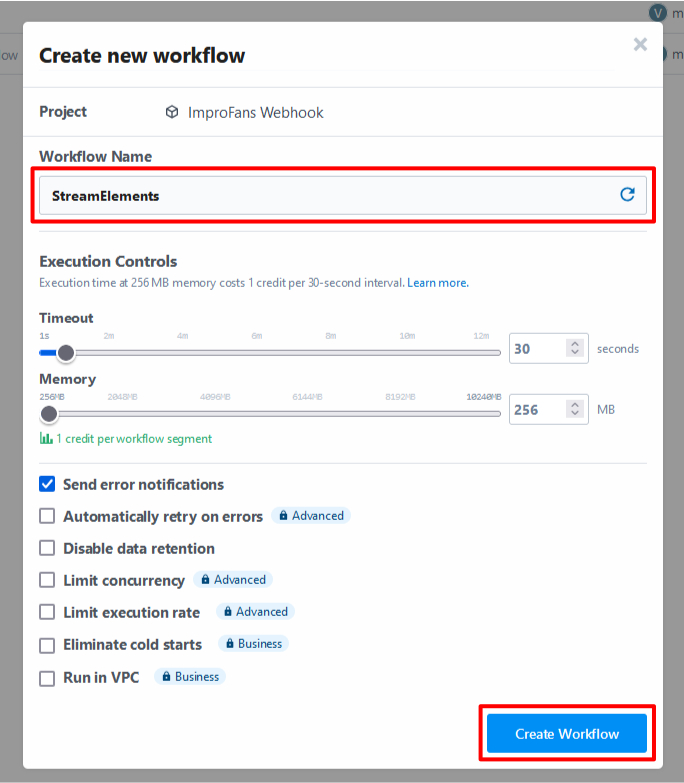
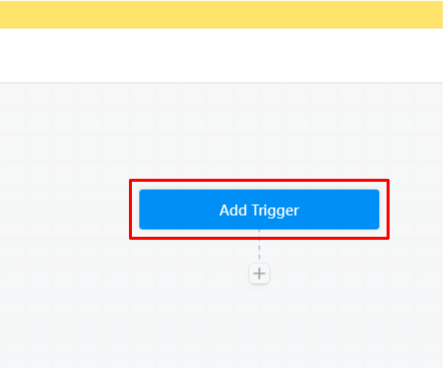
- Now add a trigger for the webhook. The trigger gives you the webhook link that you’ll need to add to ImproFans later. Click the blue Add Trigger button:
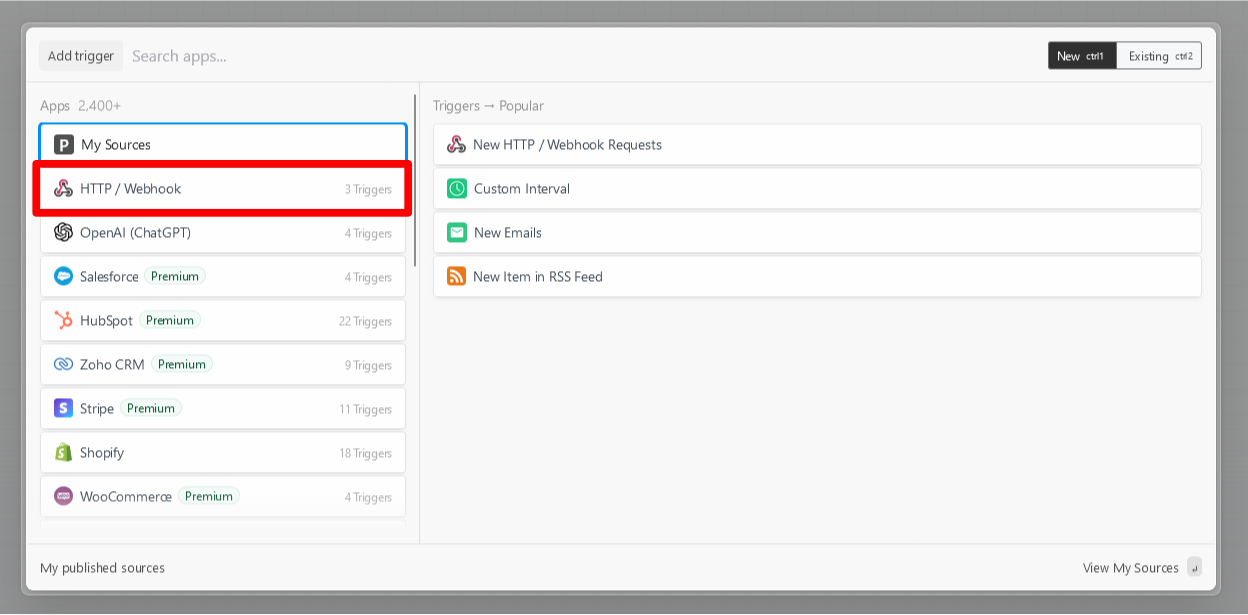
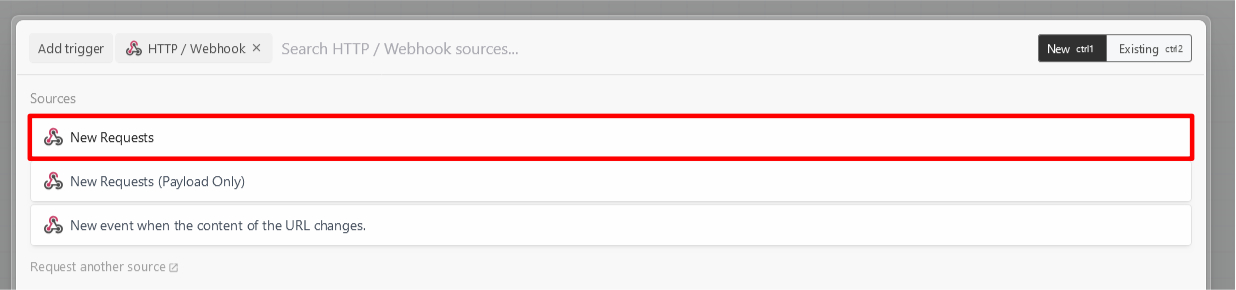
- Select HTTP / Webhook:
- … and then New Requests:
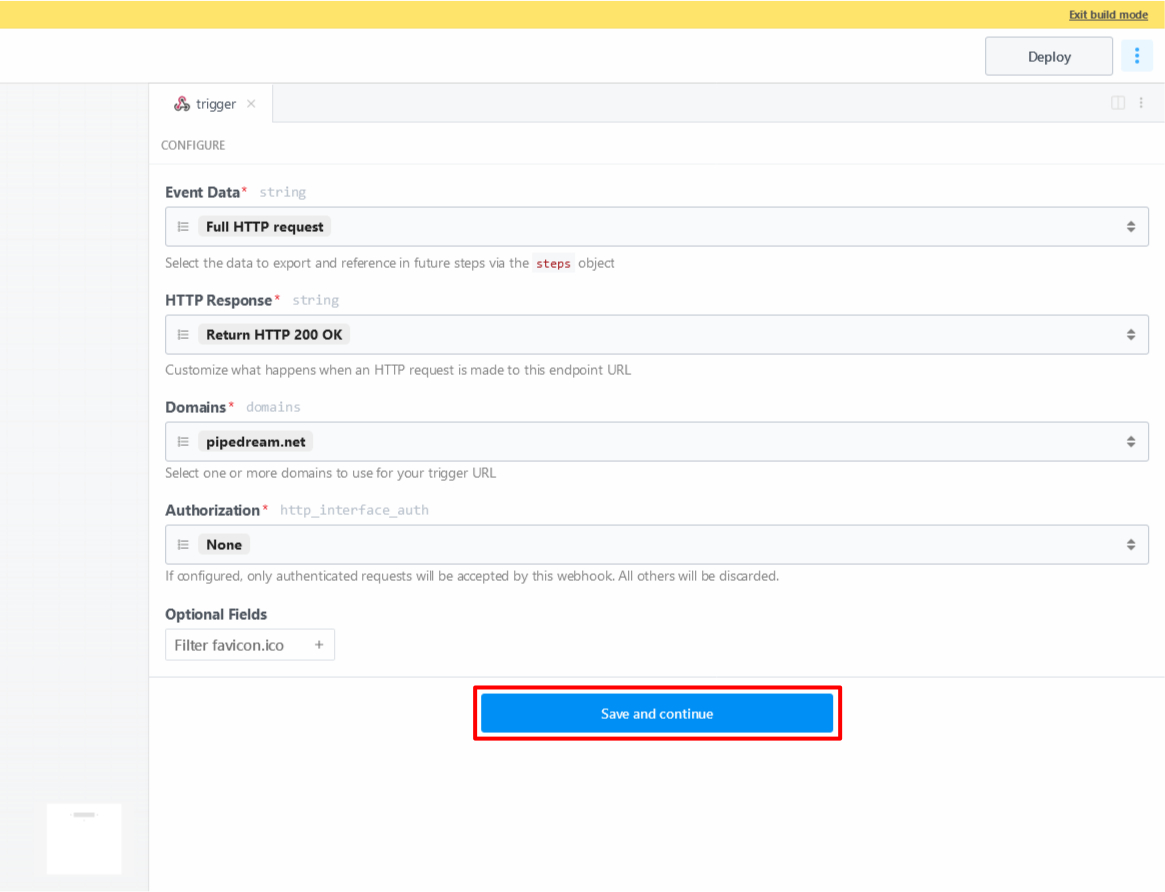
- Confirm adding the trigger by clicking Save and continue:
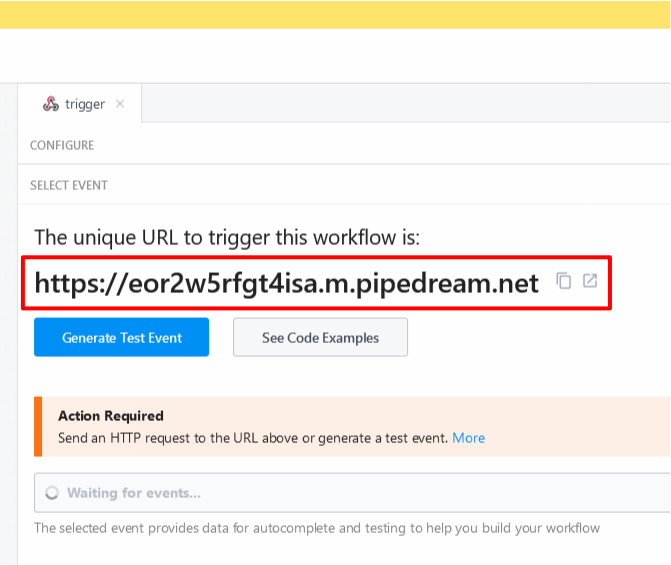
- Now copy the link in the red marked box:
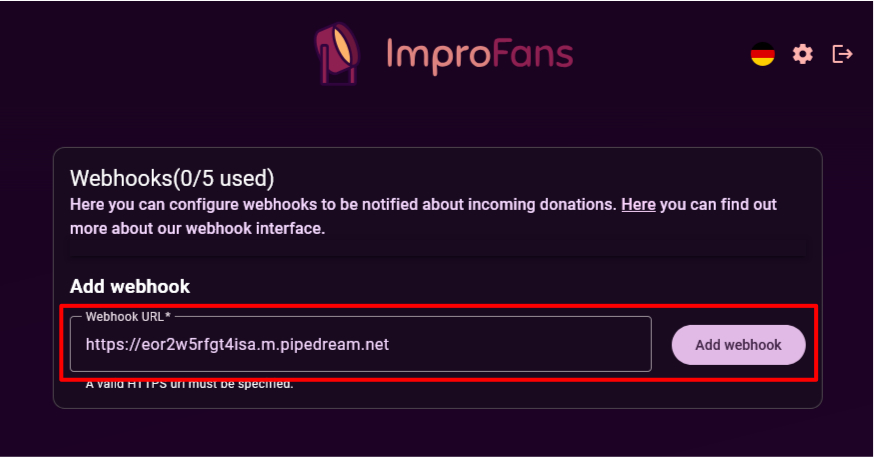
- Log in to your ImproFans account and open the webhook overview. Add the link from the previous step here and then click Add Webhook:
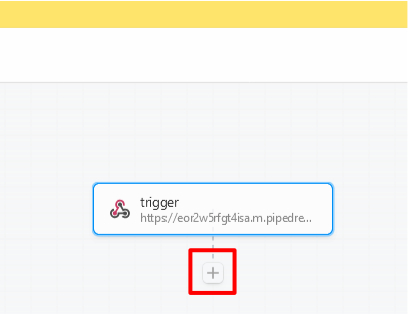
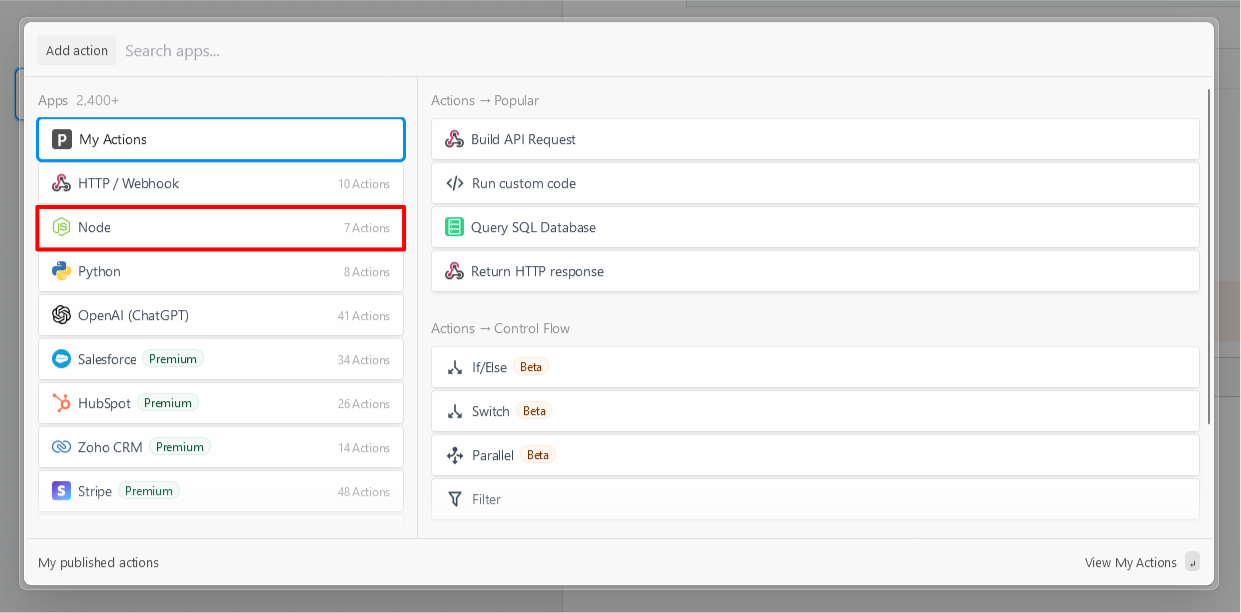
- Back to Pipedream. Click the + symbol to add a new action - in this case the code for the StreamElements connection:
- Select Node:
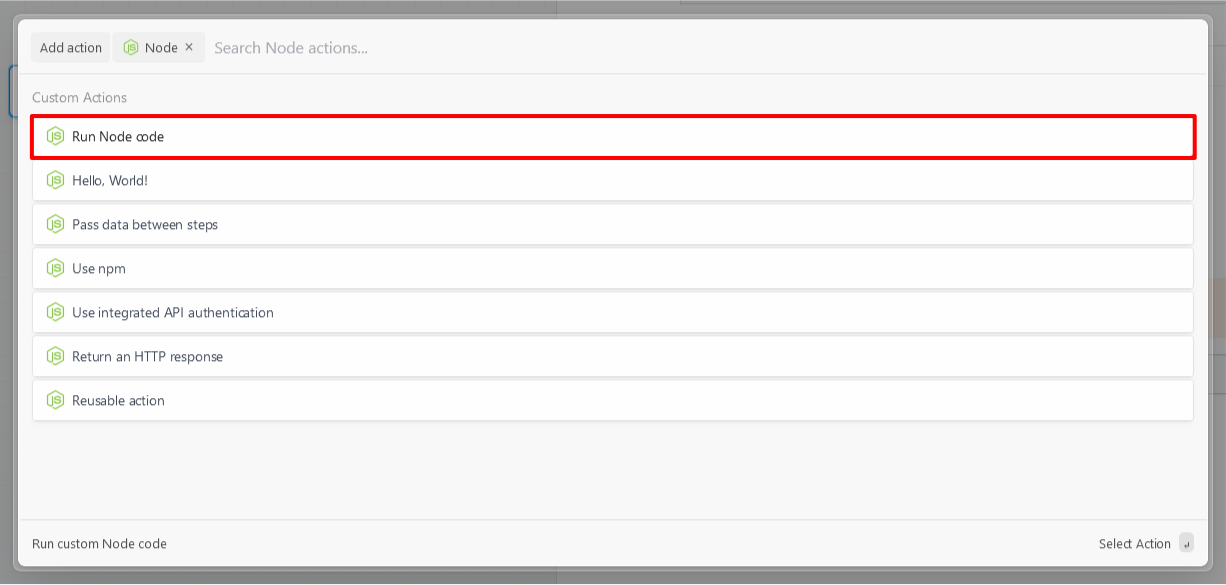
- … and then Run Node code:
- First enter a new name for the action (e.g.
streamelements_tip). To do this, simply click on the name of the action (code by default) and then enter a new name: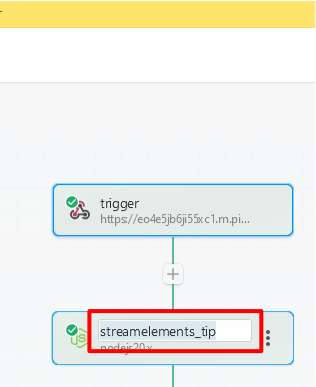
- Delete the existing standard code from the text field (red rectangle in the image) and then insert the code below the image:
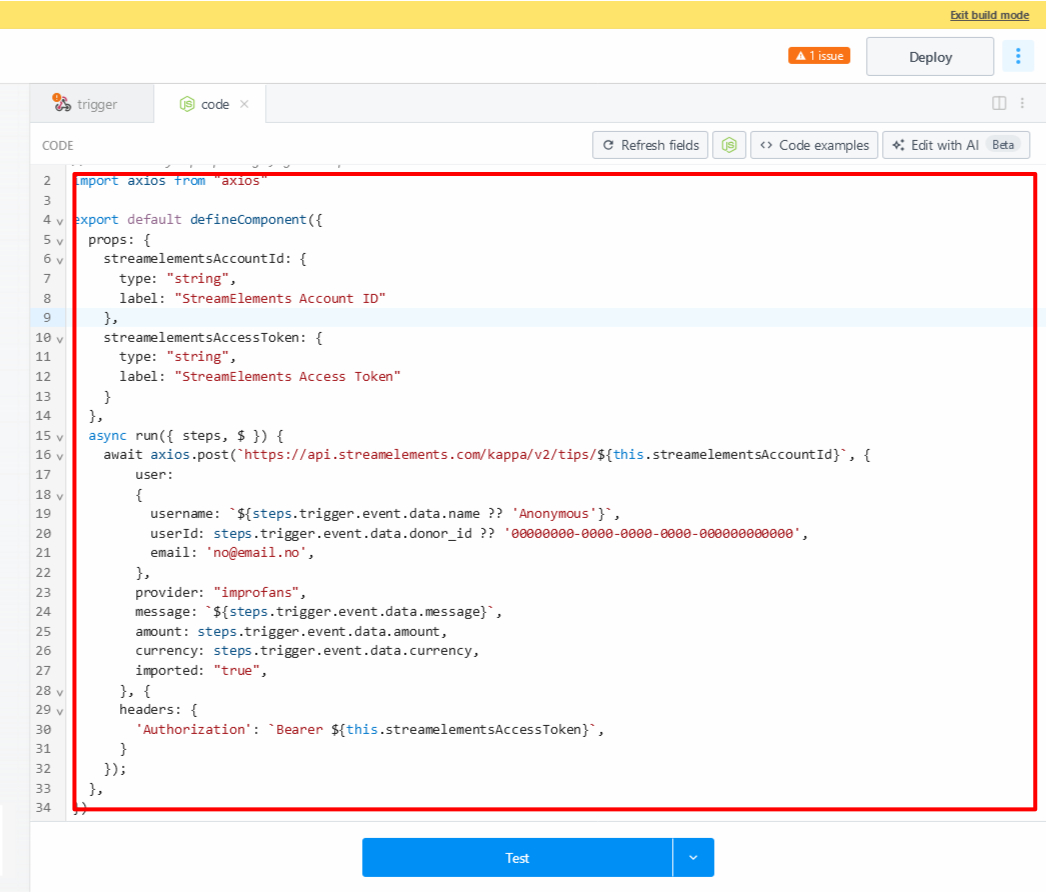
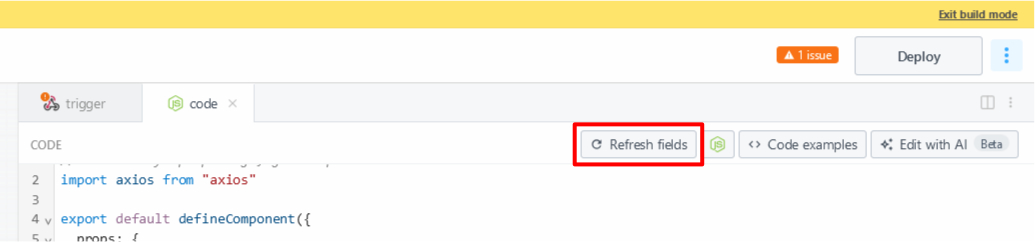
import axios from "axios" export default defineComponent({ props: { streamelementsAccountId: { type: "string", label: "StreamElements Account ID" }, streamelementsAccessToken: { type: "string", label: "StreamElements Access Token" } }, async run({ steps, $ }) { await axios.post(`https://api.streamelements.com/kappa/v2/tips/${this.streamelementsAccountId}`, { user: { username: `${steps.trigger.event.body.data.name ?? 'Anonymous'}`, userId: steps.trigger.event.body.data.donor_id ?? '00000000-0000-0000-0000-000000000000', email: 'no@email.no', }, provider: "improfans", message: `${steps.trigger.event.body.data.message}`, amount: steps.trigger.event.body.data.amount, currency: steps.trigger.event.body.data.currency, imported: "true", }, { headers: { 'Authorization': `Bearer ${this.streamelementsAccessToken}`, } }); }, }) - After inserting the code, click Refresh fields to display the fields for your StreamElements Account ID and Token:
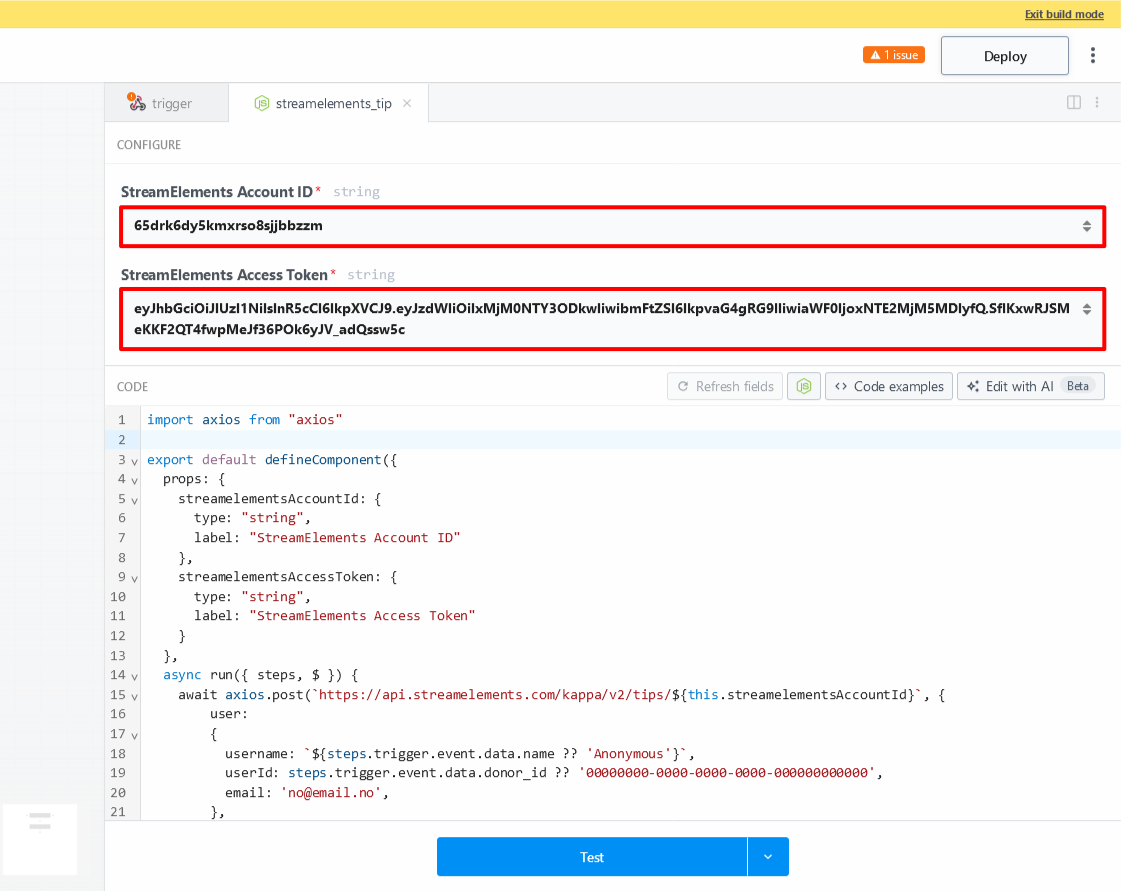
- Now add your StreamElements Account ID and Token from earlier (see above) in the designated fields (StreamElements Account ID and StreamElements Access Token):
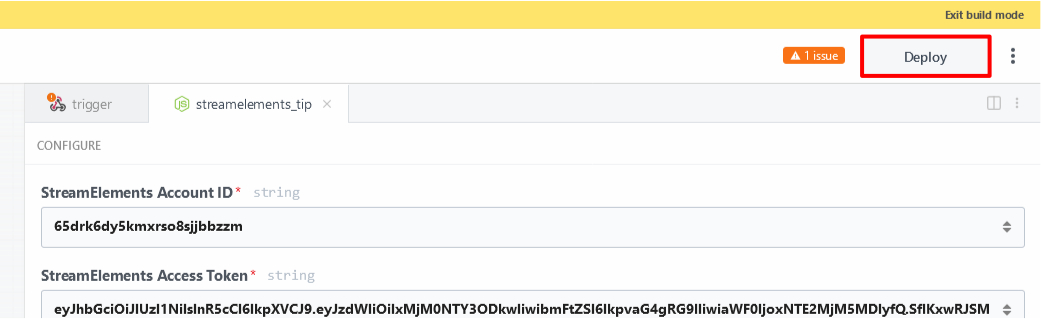
- Now click Deploy to start the workflow so you can receive our webhook events:
Now you’re ready to receive donation notifications on StreamElements.